Lawn mower sprinkler head repair fixes broken heads, clears clogs, and restores proper lawn watering.
I have repaired dozens of sprinkler heads after mowers hit them. This guide shows clear, tested steps for lawn mower sprinkler head repair. I explain how to diagnose damage, what tools to use, and when to replace parts. Read on for practical tips, safety steps, and realistic costs from hands-on work in yards and sports fields.
Diagnosis: How to spot mower damage and what to check
Start by walking the lawn. Look for heads that are tilted, leaking, clogged, or that do not pop up. A head hit by a lawn mower often has a bent riser or missing nozzle. Clogs from grass and dirt are common after mowing, and broken seals cause slow leaks.
Common signs you will see during lawn mower sprinkler head repair
- Head stays down when it should pop up
- Spray pattern is weak or uneven
- Visible cracks or a bent riser
- Water pools near the sprinkler
How I diagnose quickly
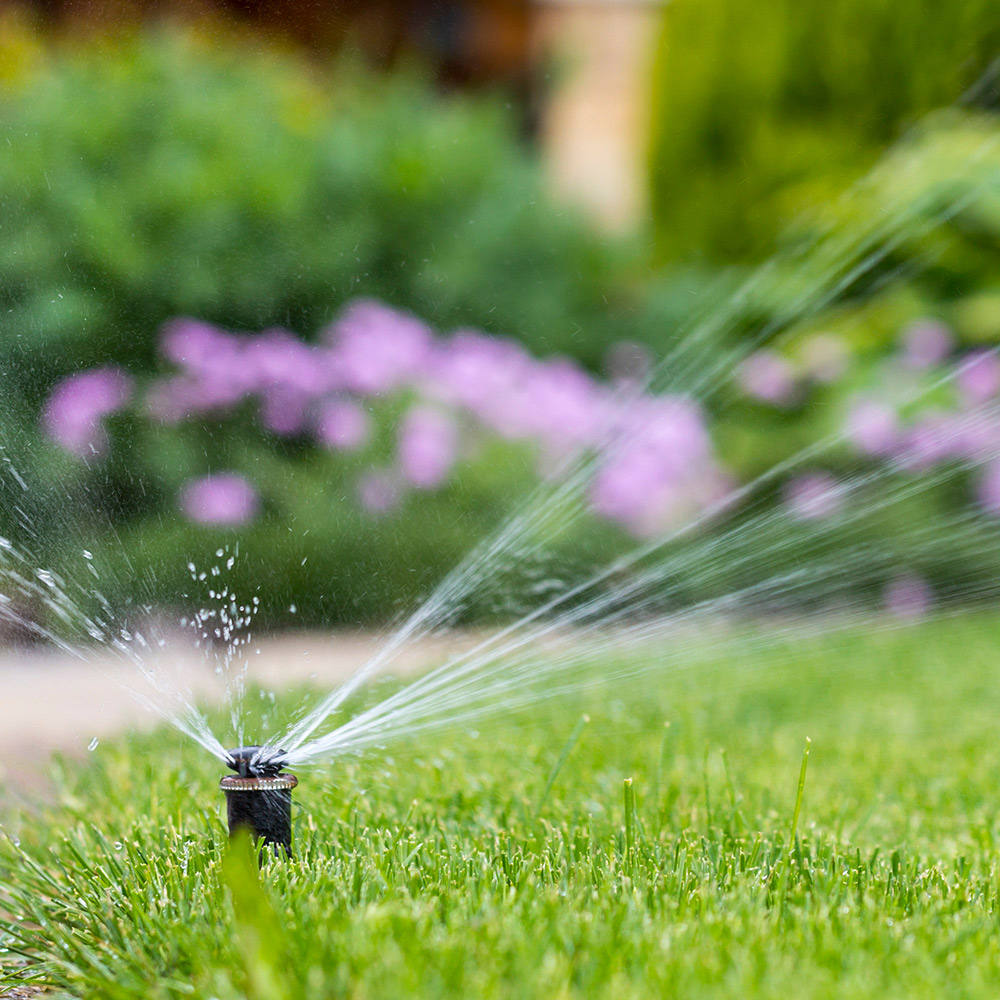
- Run a zone and watch each head closely for movement and spray pattern.
- Use a towel to check for low pressure leaks around the base.
- Mark damaged heads with a flag to avoid running over them again.
Tools and materials for lawn mower sprinkler head repair
You do not need a truckload of gear. A few basic tools handle most repairs fast.
Essential items
- Adjustable wrench or pliers for risers and fittings
- Screwdrivers for nozzles and caps
- Replacement sprinkler heads and nozzles matched to your system
- Riser extensions and Teflon tape for threaded joints
- Small pick or wire for clogs and debris
- Bucket and rag for cleanup
Optional helpful tools
- Hand shovel to expose buried fittings
- Pipe cutter for PVC repairs
- PVC primer and cement for buried breaks

Step-by-step lawn mower sprinkler head repair
These steps cover the most frequent mower-related fixes. Follow them in order to save time and avoid mistakes.
Turn off the water
- Stop the irrigation controller or close the valve to the zone.
- Run the zone briefly to relieve pressure before you touch fittings.
Expose and inspect the head
- Dig just enough soil to see the head and riser.
- Check for cracks, bent risers, broken nozzles, and stripped threads.
Clean and clear clogs
- Remove the nozzle cap and lift the filter screen.
- Flush water through the riser or use a pick to clear grit and grass.
Replace the nozzle or head if needed
- Swap the nozzle for one with the same flow rate and spray pattern.
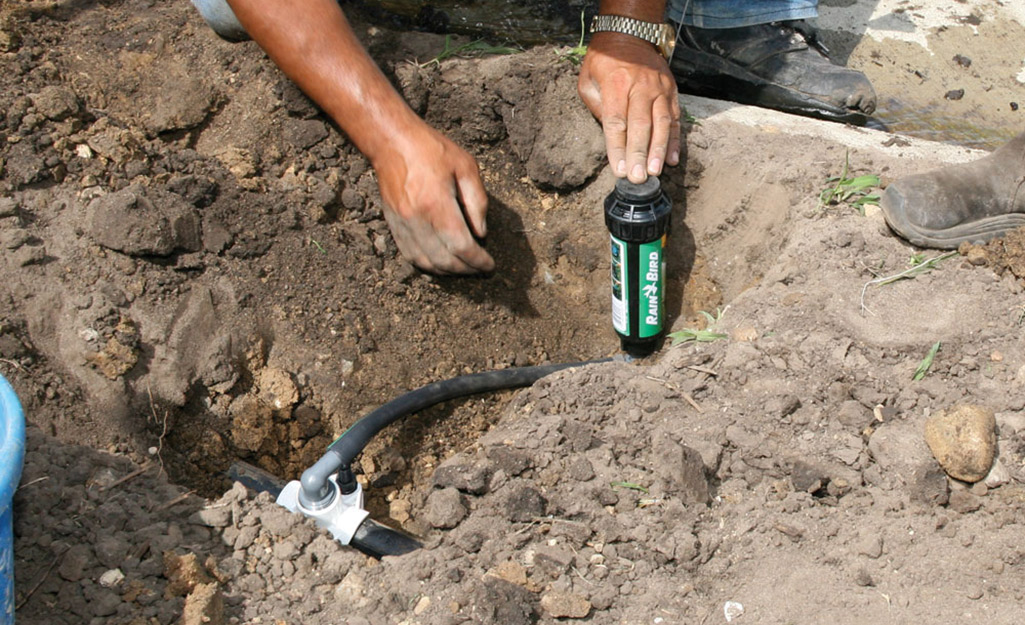
- For severe damage, remove the riser and thread in a new head or riser assembly.
Seal and test
- Use Teflon tape on threaded joints if threads are exposed.
- Replace soil, turn the water on, and run the zone to test spray and alignment.
How long it takes
- Cleaning a clogged head: 5–15 minutes.
- Replacing a head: 15–30 minutes.
- Fixing buried pipe: 30 minutes to several hours, depending on damage.

Common causes and targeted fixes for mower hits
Understanding root causes helps prevent repeat damage.
Cause: mower blade or wheel strike
- Fix: replace head or rise and move head slightly deeper or add a protective barrier.
Cause: mower scalping or low mowing
- Fix: raise mower deck and use caution near heads. Consider recessed head models.
Cause: soil shifting and settling
- Fix: re-set the riser height and pack soil firmly after repairs.
Cause: debris and clogs after mowing
- Fix: install fine mesh screens and clean after heavy thatch or wet cuts.
Cause: freeze or age-related cracking
- Fix: replace with frost-resistant parts and winterize properly.
Preventive maintenance after lawn mower sprinkler head repair
Small habits prevent most repairs.
Regular checks
- Inspect heads each month during the season.
- Run zones and watch spray patterns for early signs of trouble.
Mowing best practices
- Keep mower blades sharp and avoid running wheels over heads.
- Use flags or stakes to mark heads when mowing tight areas.
Seasonal care
- Winterize to drain lines and protect heads from freezethaw cycles.
- Replace worn nozzles annually for even coverage.
Practical tip from my yard
- I once placed short, visible stakes near low heads. Mowers avoided them and repairs dropped by half.
Cost, replacement guidance, and when to call a pro
Decide repair vs replace based on damage and cost.
Typical costs
- Nozzle: low cost, usually a few dollars.
- Pop-up head: $10–$40 retail depending on brand and features.
- Labor for pro repair: $50–$100 per hour typical, varying by region.
- Major pipe repair: $100–$500 depending on depth and fittings.
When to replace
- Replace if the riser is cracked, threads are stripped, or multiple parts fail.
- Replace when recurring leaks or poor spray persist after cleaning.
When to hire a pro
- You want a clean trench, correct pipe sizing, or timed valve repairs.
- Call a pro for complex zones, electrical issues, or repeated failures.

Safety and best practices during lawn mower sprinkler head repair
Follow these simple safety steps.
Shut off power and water
- Turn off the irrigation controller and main water supply for the zone.
- Release pressure before loosening fittings.
Use the right tools
- Avoid over-tightening plastic fittings to prevent cracks.
- Wear gloves and eye protection when digging or using PVC cement.
Mark repairs clearly
- Use flags or paint to mark repaired heads until grass regrows.
- Note repairs in your maintenance log for future reference.
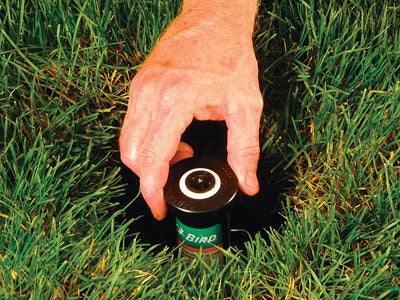
Frequently Asked Questions of lawn mower sprinkler head repair
How do I know if a sprinkler head is damaged by a mower?
If the head is tilted, cracked, or missing a nozzle, a mower likely hit it. Uneven spray and visible damage are clear signs.
Can I fix a broken sprinkler head myself?
Yes. Many fixes involve cleaning, replacing a nozzle, or swapping a pop-up head, which are easy DIY tasks with basic tools.
How often should I inspect sprinkler heads after mower use?
Quick visual checks after each mowing season or at least monthly during peak season help catch problems early. Check zones while they run to see spray patterns.
Will a bent riser affect watering coverage?
Yes. A bent riser changes spray direction and can cause dry spots or wasted water. Straighten or replace risers to restore coverage.
When will I need to replace the pipe and not just the head?
Replace pipe if cracks leak underground, threads are stripped, or joints are broken. Small clogs and nozzle issues do not need pipe replacement.
Conclusion
Repairing a lawn mower sprinkler head is a practical skill that saves water and money. Use careful diagnosis, the right tools, and clear steps to clean, replace, or realign heads. Check heads after mowing, mark them well, and winterize to avoid repeated damage. Try one small repair this week and see how much it boosts lawn health and watering efficiency. If you found this useful, leave a comment or subscribe for more hands-on irrigation tips.
